Install your custom top plate
Swap the stock Whoopstor V3 top plate for your printed one. The fragile step is transferring the glued-on screen — not the four screws on top.
- 1.5 mm hex driver (four top plate screws)
Glued screen — go slow
The LED screen is glued to the underside of the stock top plate. Peel slowly and evenly; pulling too fast can bend the glass or tear the ribbon cable.
Disassembly
Power off and unplug
Disconnect the charger from power.
Remove the four top screws
Remove all four 1.5 mm hex screws from the top plate (one near each corner). Keep them in a cup of somewhere safe.
Lift off the stock top plate
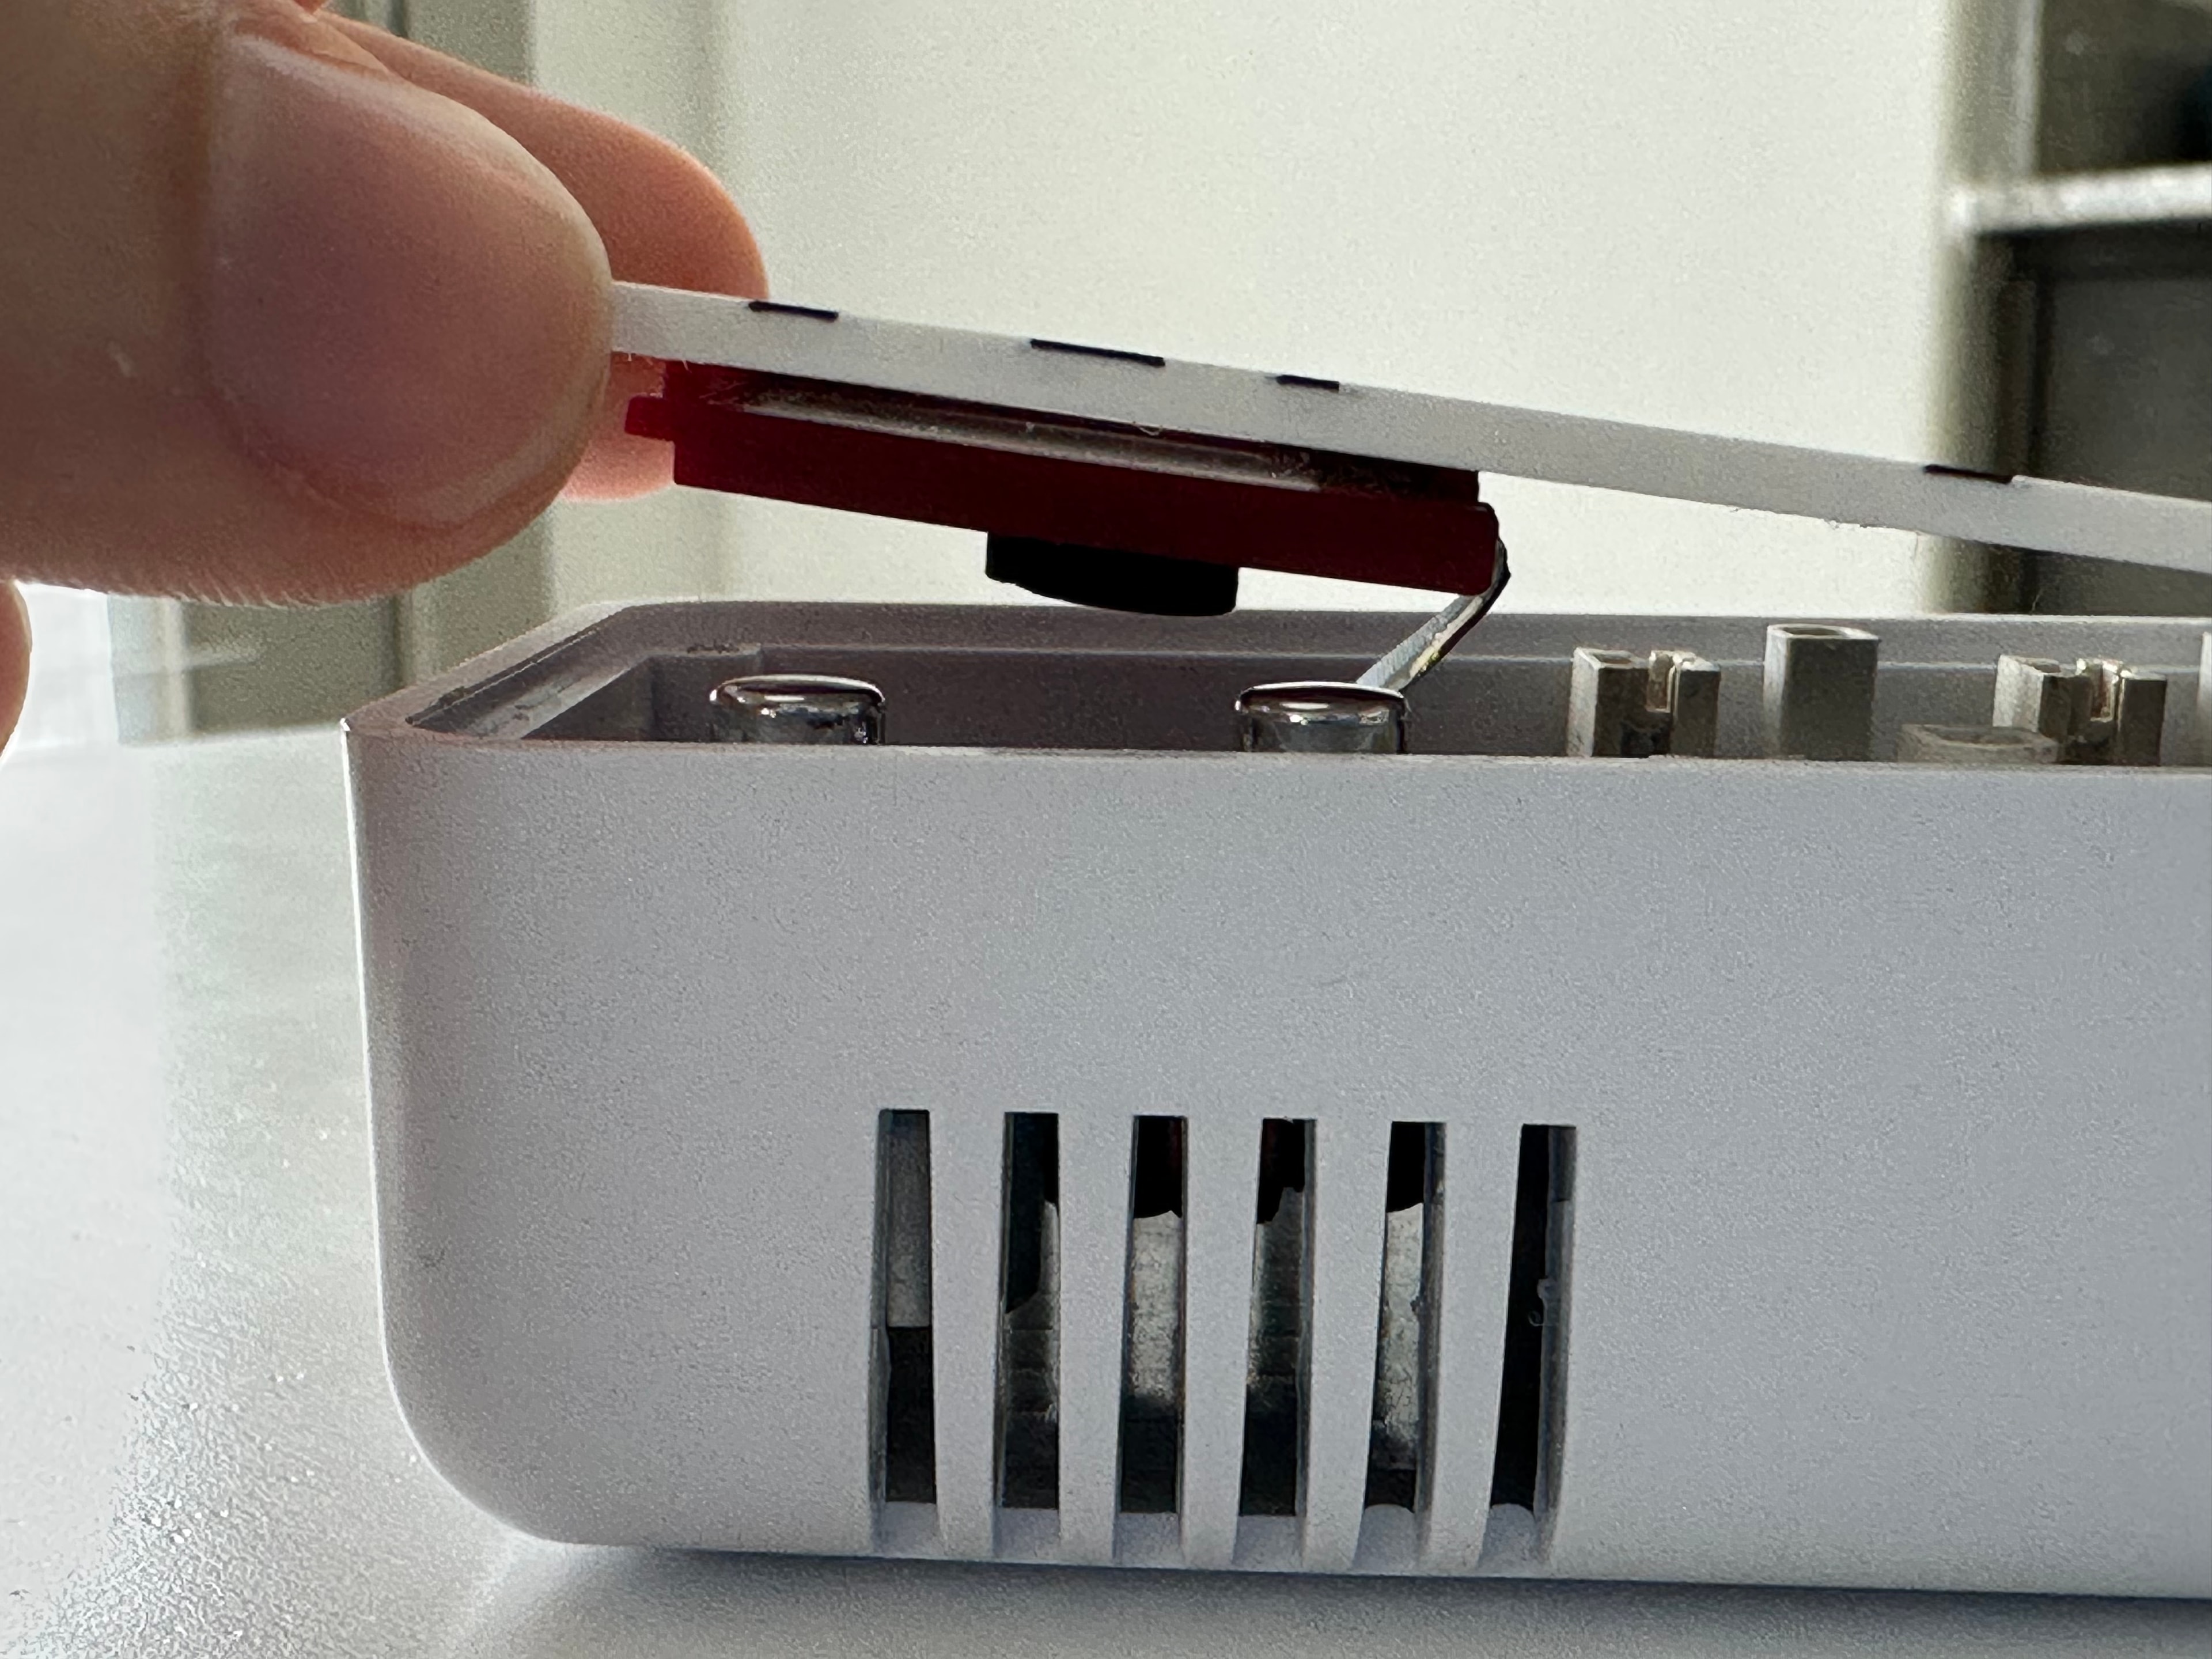
Gently raise the plate straight up. The display stays glued to the plate underside, so support both together. do not let the screen dangle on the ribbon cable.
Transfer the screen to your new plate
Carefully peel the LED screen off the stock plate and press it onto the underside of your custom plate. Work slowly from one side of the screen to the other.
Assembly
Seat the plate on the charger
Lower the assembly onto the base. All four screw bosses should align and the screen should be seated flush with the plate by aligning the three red plastic dots on the screen with the three holes on the plate.
Reinstall the four top screws
Install the top hex screws and snug them in a gentle cross pattern. Do not overtighten plastic threads.
Test before flying
Plug in power, tap both buttons, and confirm the screen lights and each bay reads a battery. If the display is blank, power off and check the ribbon cable is seated.